728x90
https://youtu.be/GuY_PROTr0I: 참고영상

코드
<!DOCTYPE html>
<html lang="en">
  <head>
    <meta charset="UTF-8" />
    <meta http-equiv="X-UA-Compatible" content="IE=edge" />
    <meta name="viewport" content="width=device-width, initial-scale=1.0" />

    <title>Document</title>
    <style>
      body {
        margin: 0;
      }
      canvas {
        display: block;
        background-color: blue;
      }
    </style>
  </head>
  <body>
    <canvas id="mycanvas"></canvas>
    <script src="pixi.js"></script>
    <script type="text/javascript">
      const canvas = document.getElementById("mycanvas");
      // Create the application helper and add its render target to the page
      const app = new PIXI.Application({
        view: canvas,
        width: window.innerWidth,
        height: window.innerHeight,
      });

      // Create the sprite and add it to the stage
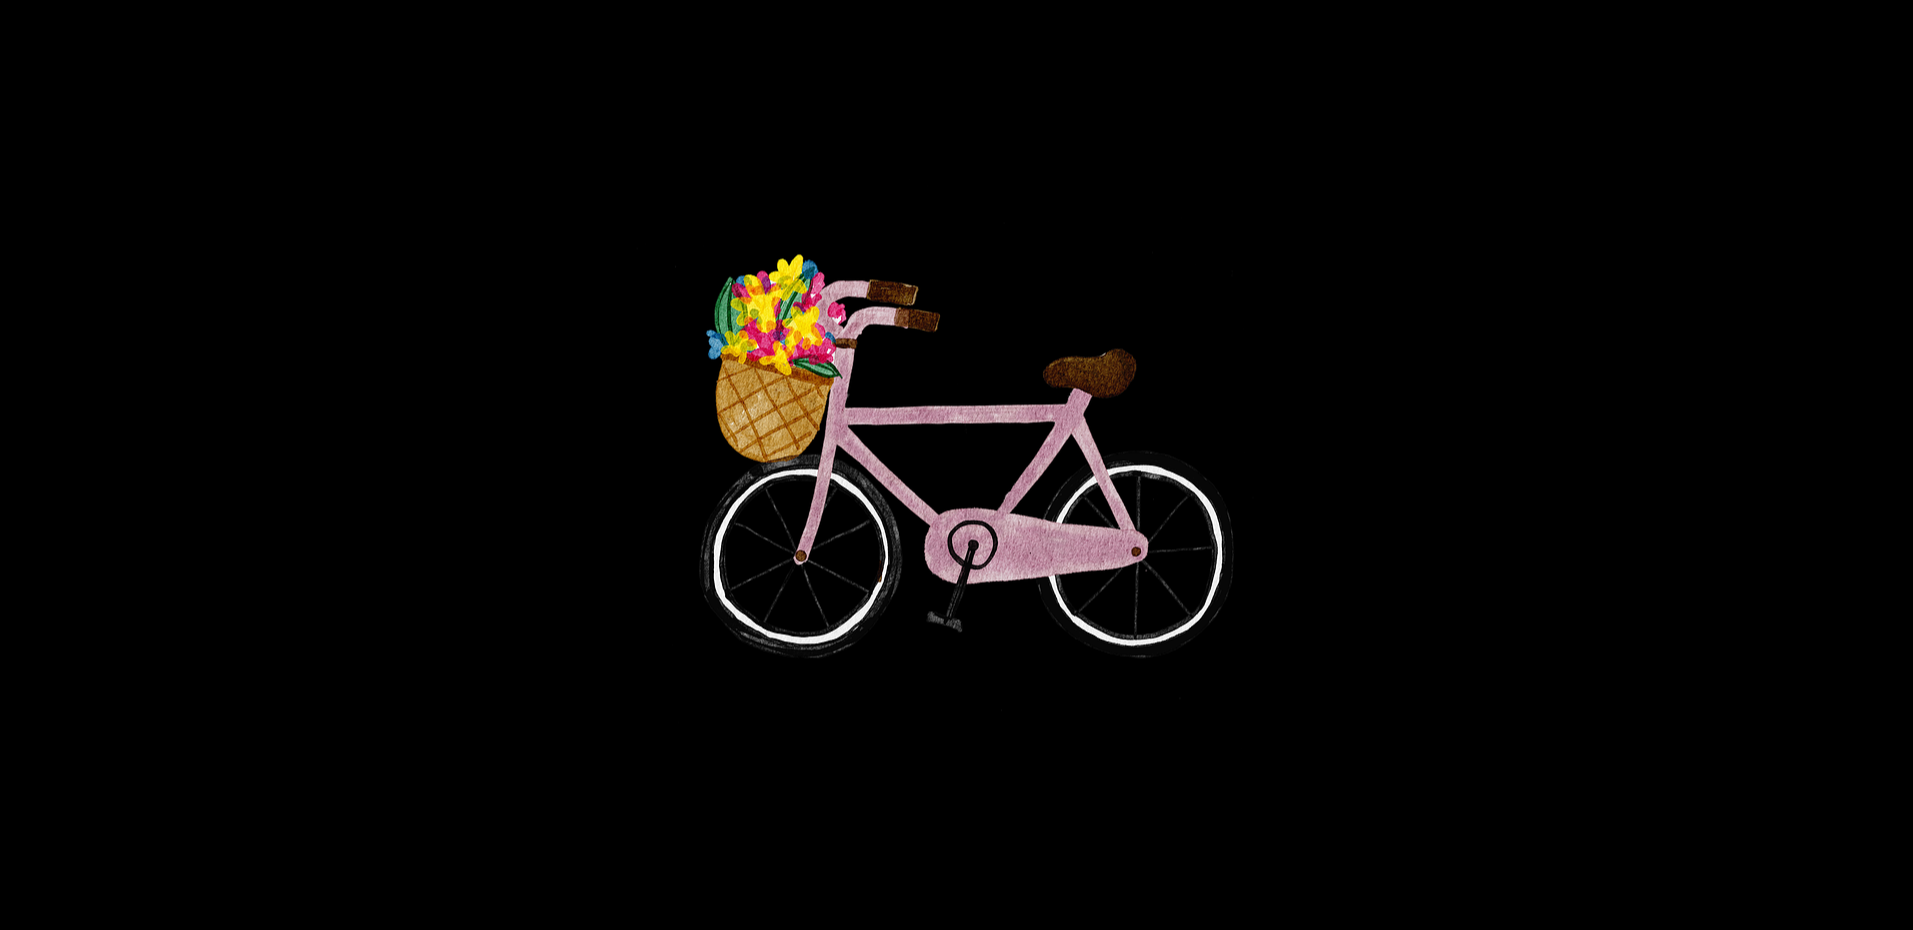
      const texture = PIXI.Texture.from("bike.png");
      const img = new PIXI.Sprite(texture);
      img.x = app.renderer.width / 2;
      img.y = app.renderer.height / 2;
      app.stage.addChild(img);
    </script>
  </body>
</html>
<!DOCTYPE html>
<html lang="en">
  <head>
    <meta charset="UTF-8" />
    <meta http-equiv="X-UA-Compatible" content="IE=edge" />
    <meta name="viewport" content="width=device-width, initial-scale=1.0" />

    <title>Document</title>
    <style>
      body {
        margin: 0;
      }
      canvas {
        display: block;
        background-color: blue;
      }
    </style>
  </head>
  <body>
    <canvas id="mycanvas"></canvas>
    <script src="pixi.js"></script>
    <script type="text/javascript">
      const canvas = document.getElementById("mycanvas");
      // Create the application helper and add its render target to the page
      const app = new PIXI.Application({
        view: canvas,
        width: window.innerWidth,
        height: window.innerHeight,
      });

      // Create the sprite and add it to the stage
      const texture = PIXI.Texture.from("bike.png");
      const img = new PIXI.Sprite(texture);
      img.x = app.renderer.width / 2;
      img.y = app.renderer.height / 2;
      img.anchor.x = 0.5;
      img.anchor.y = 0.5;
      app.stage.addChild(img);

      app.ticker.add(animate);
      function animate() {
        img.rotation += 0.1;
      }
    </script>
  </body>
</html>
728x90
'그래픽스 > WebGl' 카테고리의 다른 글
| [Spine][pixiJs] Api 사이트 (0) | 2022.05.11 |
|---|---|
| [2D WebGL][pixi.Js] 세부사항 (0) | 2022.05.10 |
| [2D WebGL][pixiJS] Architecture Overview (0) | 2022.05.09 |
| [3D WebGL][three.js] three.js 프로젝트 시작해보기 (0) | 2022.05.09 |
| WebGL이란, three.js란, pixi.js란 (0) | 2022.05.01 |
![[2D WebGL][pixiJS] Getting Started!](https://img1.daumcdn.net/thumb/R750x0/?scode=mtistory2&fname=https%3A%2F%2Fblog.kakaocdn.net%2Fdna%2FXSeTH%2FbtrBF4F82Rr%2FAAAAAAAAAAAAAAAAAAAAAH6xBYEtMbwxRif2GIvSB5x675bLWvh_vVyWNgy77cLl%2Fimg.png%3Fcredential%3DyqXZFxpELC7KVnFOS48ylbz2pIh7yKj8%26expires%3D1764514799%26allow_ip%3D%26allow_referer%3D%26signature%3DQ74igo%252Fcg2iS8DXDCbxAe8YogNA%253D)